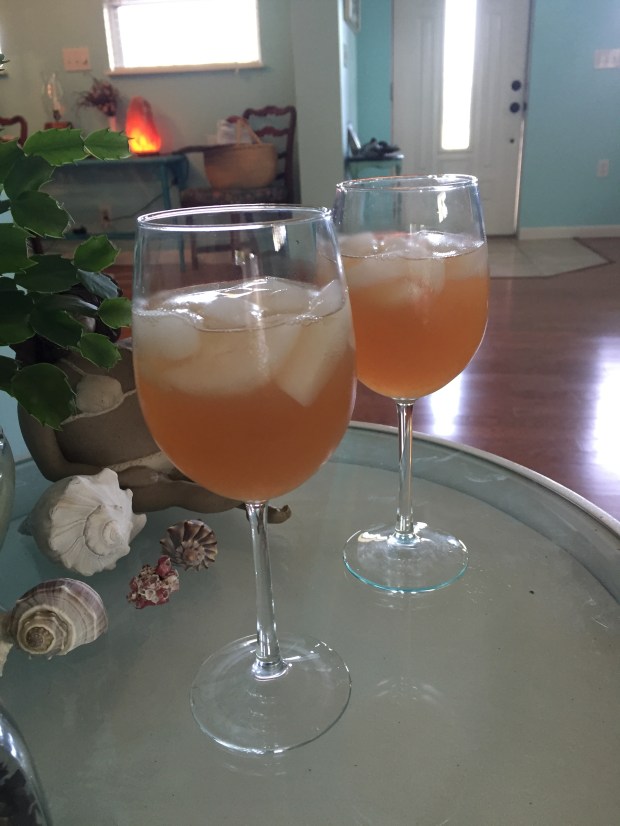
For the last month or so, my Roselle Hibiscus (Hibiscus sabdariffa) has been producing bountiful amounts of its beautiful and unique fruits. So many, that I have been selling them at market and looking for new and innovative ways to use them. After a bit of searching I ran across candied Roselle Hibiscus. I even found them used in mimosas as whole candied fruits. I was intrigued.
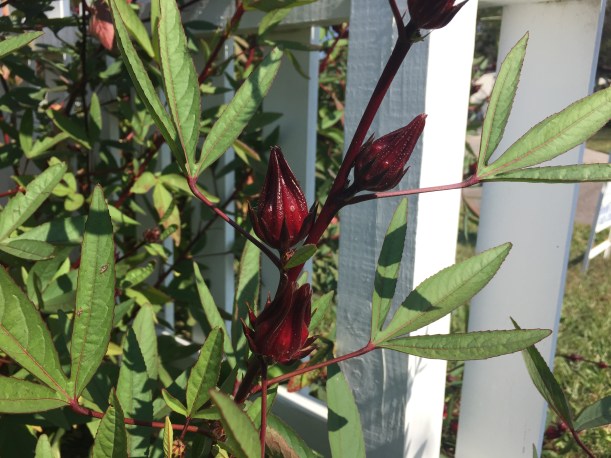
Roselle Hibiscus (Hibiscus sabdariffa) fruits.
Roselle Hibiscus is full of antioxidants and Vitamin C, thus many find it to be helpful in cases of mild colds and flus. It is also a tart and colorful addition to teas. Many people know it as the “zing” in Celestial Seasoning’s Red Zinger tea.
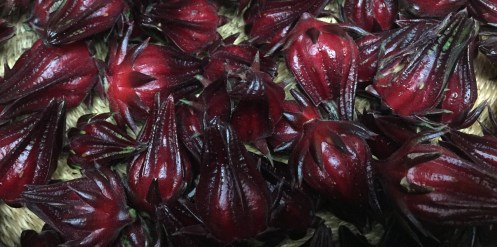
Freshly harvested rosella.
I normally stick to using Roselle Hibiscus in teas, and often just pull the “petals” from the fruit and dry them for winter use, when Vitamin C is in high demand. But after a few internet searches and foreign videos I happened upon this post at Renee’s Garden Seeds that has a wealth of information on growing Roselle Hibiscus and a few different recipes, including the inspiration for the recipe that follows.
Because I have candied fruit in the past, mostly citrus peels, I first began the process in much the same way as I would for that. However, my results were very pale and any of the small, tender rosella turned to mush. I then tried to thicken the syrup by cooking it down and bringing it to a high boil. This produced much brighter, but very sticky and flattened rosella. All of the above results were however delicious. But what I wanted was a rosella that held a bit of its shape, so that I can place the rosella in the bottom of a champagne flute for mimosas and be able to eat it in the end should I chose.
Therefore, I ended up making a much thicker syrup, although not as thick as the one suggested on Renee’s Garden Seeds, and left the rosella in the warm syrup for about 5 hours. I then put them on drying racks over night. As of right now they are not dry, but they are sweet and have a shape worthy of a champagne flute.
How to Candy Roselle Hibiscus:
Step 1: Wash the Rosella
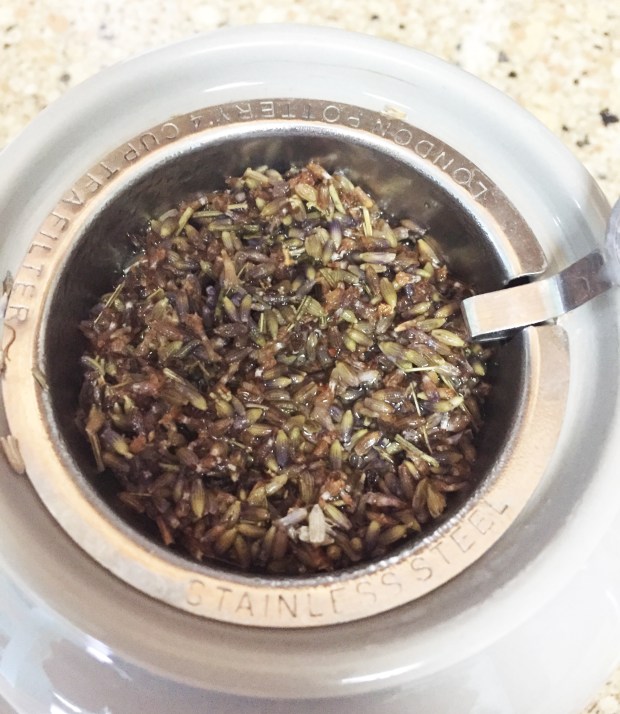
I did this by submerging them in water and then straining, because much of the debris is inside the calyx like structure not on the outside more debris is removed this way.
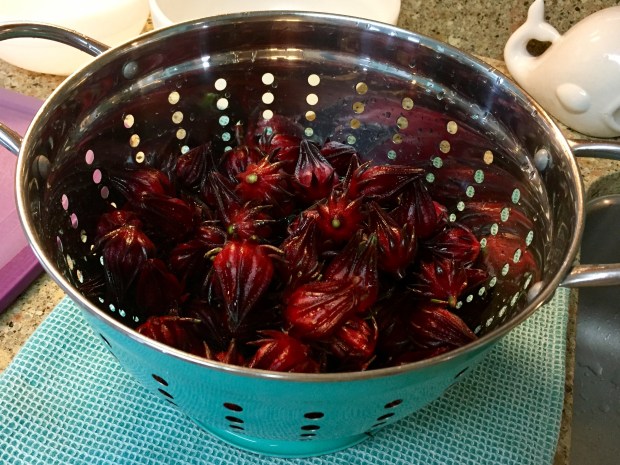
Washed Rosella
Step 2: Remove the Seed Pod from the Rosella
Take a sharp knife and cut about an eighth or quarter of an inch off the bottom of the rosella. You want to leave all the pretty points, but you want to cut a bit into the seed pod so that it is no longer attached to the rosella and will pop out easily.
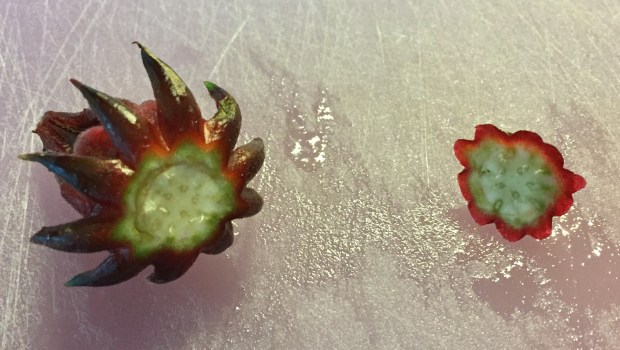
Do this to all the rosella, and then either with your finger or with a tool pop the seed pods out. I used the rounded metal end of my butter knife, which fit perfectly.


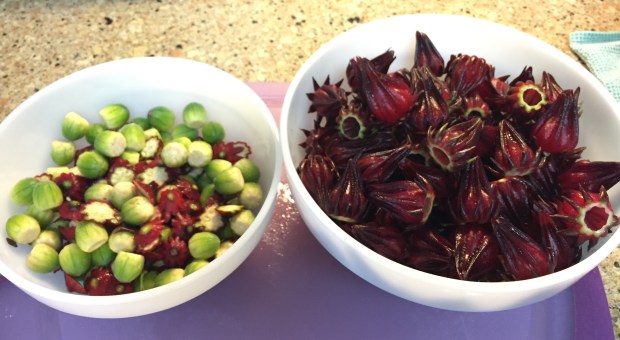
You will then end up with a big bowl of prepared rosella. You can keep the seed pods and lay them out flat to dry and as the pod dries it will begin to open and you can replant the seeds to grow your own rosella. You can also use the pods in jams as they are full of natural pectin.
Step 3: Get your ingredients together
Get your prepared rosella (I had about 12 ounces), your sugar and water ready. You will need a large pot with a lid. The pot should be at least 3x as deep as your liquid because boiling sugar can very easily boil over and cause very bad burns and terrible messes. You will also need a rubber spatula to stir your mix. A cookie sheet with parchment liner and metal cooling racks to place the candied rosella on will also be necessary. You may want to make space in the fridge to dry them over night as well.


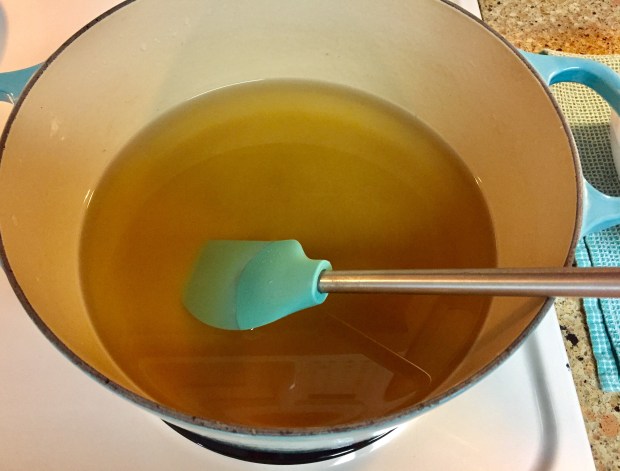
Step 4: Make your sugar syrup
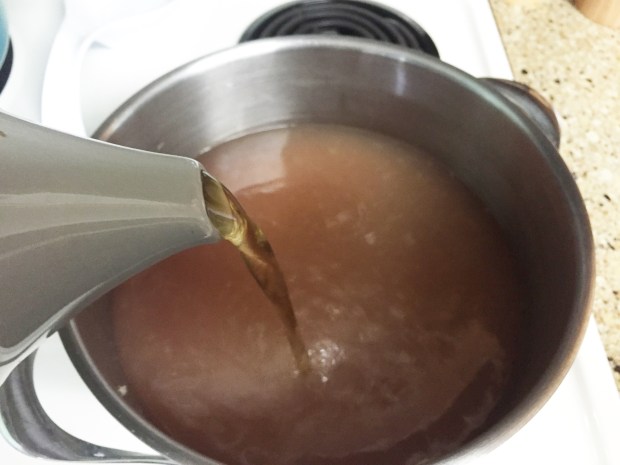
Once you have all your equipment and ingredients together. You will place the sugar and water in the pot and bring to a boil. I brought the sugar water to a boil on high and then turned it down a notch or two to keep it boiling but not popping.
Because I was experimenting as I went you will notice my sugar water in its boiling state is already red, because I had already tried cooking the rosella as I would normally candy fruit. They were delicious, very apple like, but not the look I was hoping for.
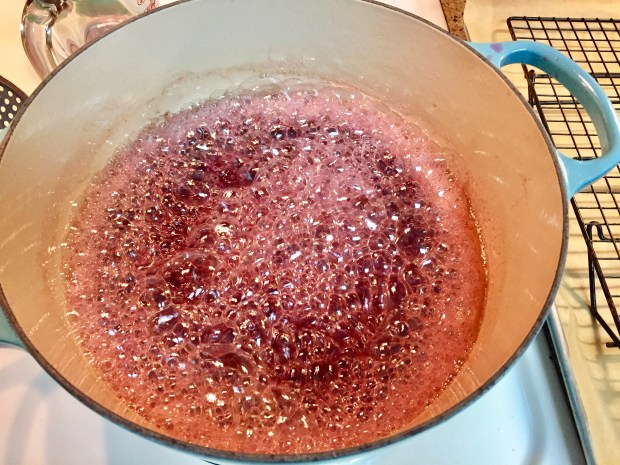
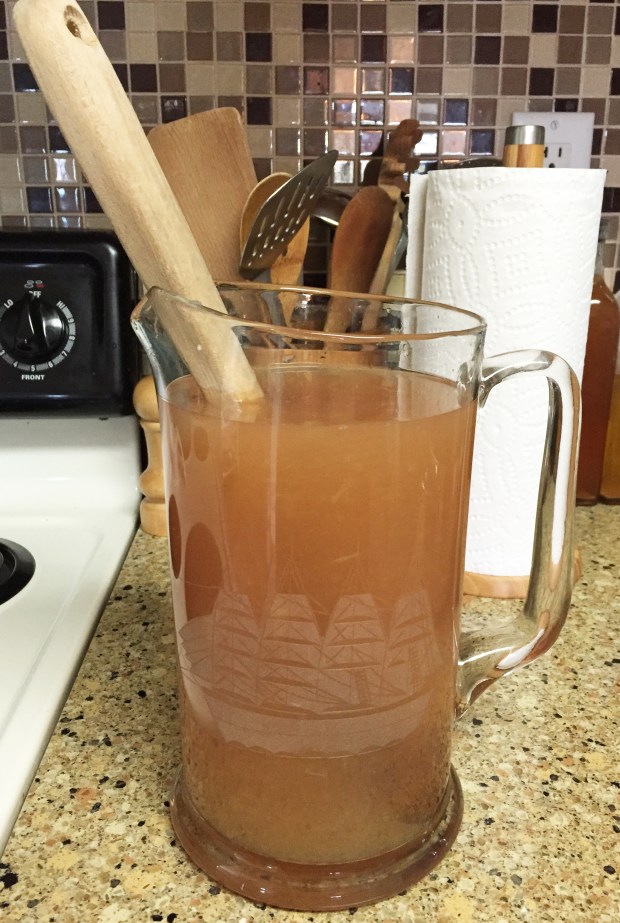
You want to get the sugar water to a syrupy consistency. It will stick to the spatula but it will still slowly, slower than honey, drip down off of the spatula with gravity.


Step 5: Add your Roselle Hibiscus to your syrup
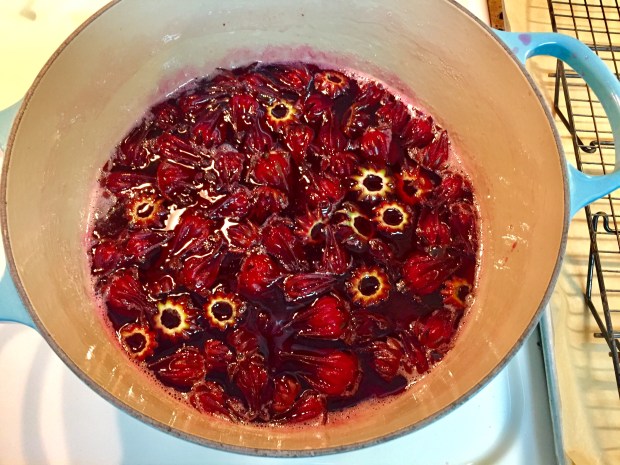
Add your cleaned, prepared rosella to the boiling hot sugar syrup. Stir gently to get all rosella fully coated. Push the rosella down until they stay completely covered. I put the cover back on my pot and allowed the rosella to sit for 5 hours. You could leave it over night as well, but I wanted to dry over night in the fridge.
Step 6: Dry Rosella Over Night
Gently remove your rosella from the syrup and place upright on the cooling rack and let drain and dry over night in the refrigerator. 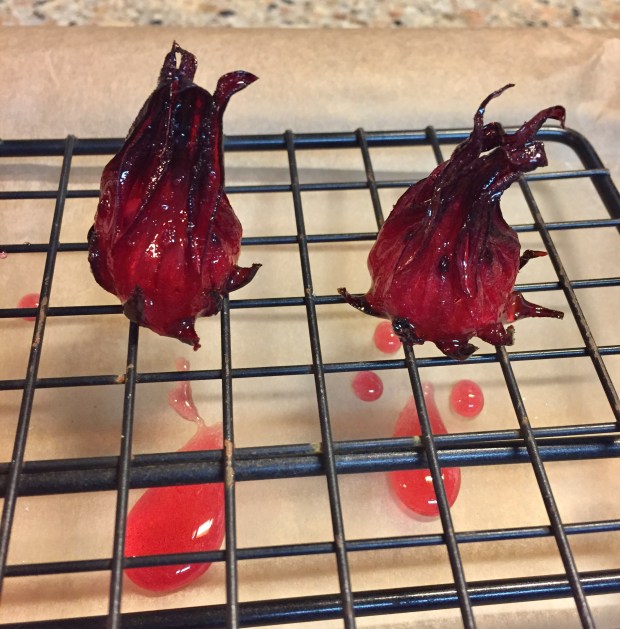
As of this posting my rosella have not dried. I will post again on how to make mimosas with them and how to keep them once they dry properly.
I do want to note that the hibiscus syrup is also very useful. I have put mine in the fridge for the night, but I do believe that I am going to make a few different batches with some other flavors. One I definitely want to make is ginger and hibiscus syrup. I think I may need to water down the syrups a bit. I will write about that soon as well.
You can use the candied hibiscus and the syrup for many things. Ice cream comes to mind, as does coconut tapioca pudding. I hope you enjoy this recipe, and I’d love to hear about your successes or failures or any new uses you may have for these delicious and unique fruits.
UPDATE:
I found that after keeping the rosella on the drying rack in my fridge for 24 hours they were still very sticky. I decided to put the parchment lined baking sheet with rack in the oven with the rosella on it standing up right. I put the oven on 175°F and let them dry for an hour or until all stickiness was gone. I put them in an airtight container and put in the refrigerator. Alternatively, you could coat them in sugar, but they will still be sticky. I prefer the heated method.
Recipe:
Ingredients:
12 ounces of prepared rosella hibiscus (about 1.5 lbs with seed pods)
6 cups of water
9 cups of organic sugar
(It’s a 1 cup water to 1.5 cup sugar ratio)
Instructions:
Clean rosella. Cut bottoms off and remove seed pods from rosella.
Place sugar and water into large pot. Bring to boil and then reduce to bubbly simmer, but no popping sugar.
Add rosella to sugar syrup. Turn off heat. Gently stir for a few minutes to get all rosella completely coated and until they stay in the liquid without floating above syrup.
Let sit for five hours or over night.
Remove from syrup onto cooling racks over parchment lined cookie sheet, being sure to carefully place each roselle upright. Let dry overnight in the refrigerator. *See UPDATE above about drying.
Store in an airtight container in the refrigerator. Store the syrup as well in the refrigerator. You can water it down for a more simple syrup consistency by heating, then store in refrigerator as well.